The Incandescent Enemy
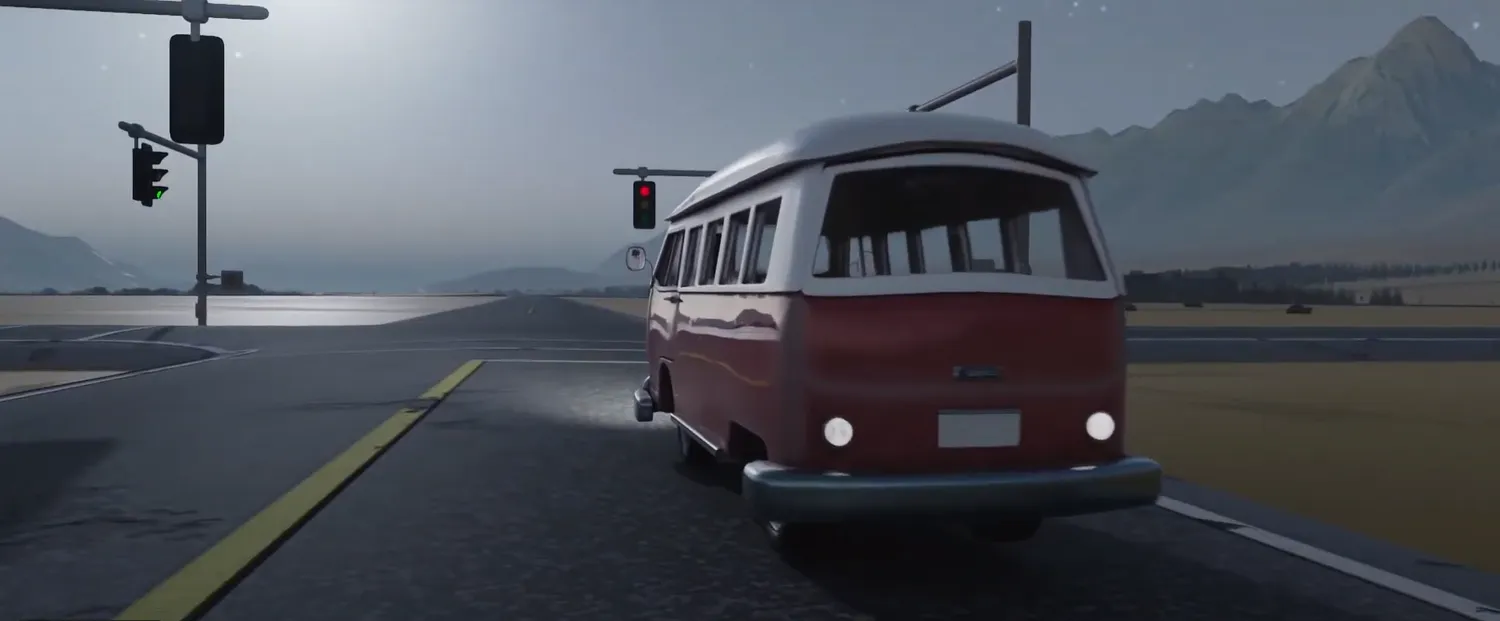
What is this
A 3D animated film created from scratch using Maya, Arnold GPU, Substance Painter, NASA Imagery, and Many other tools. Created for SFU’s Spring 2020 class of IAT 343 Animation course working in a group of 5, this animation was started and finished within a time frame of three-month.
Team
- Jonathan Reade
- Arth Bhattarai
- Balraj Virdee
- Cameron Swanson
- Donny Wu
Special thanks
- Devon Throness
Viewing

What did I do
I worked as a 3D modeler, rigger, pipeline manager, animator, and texture painter.
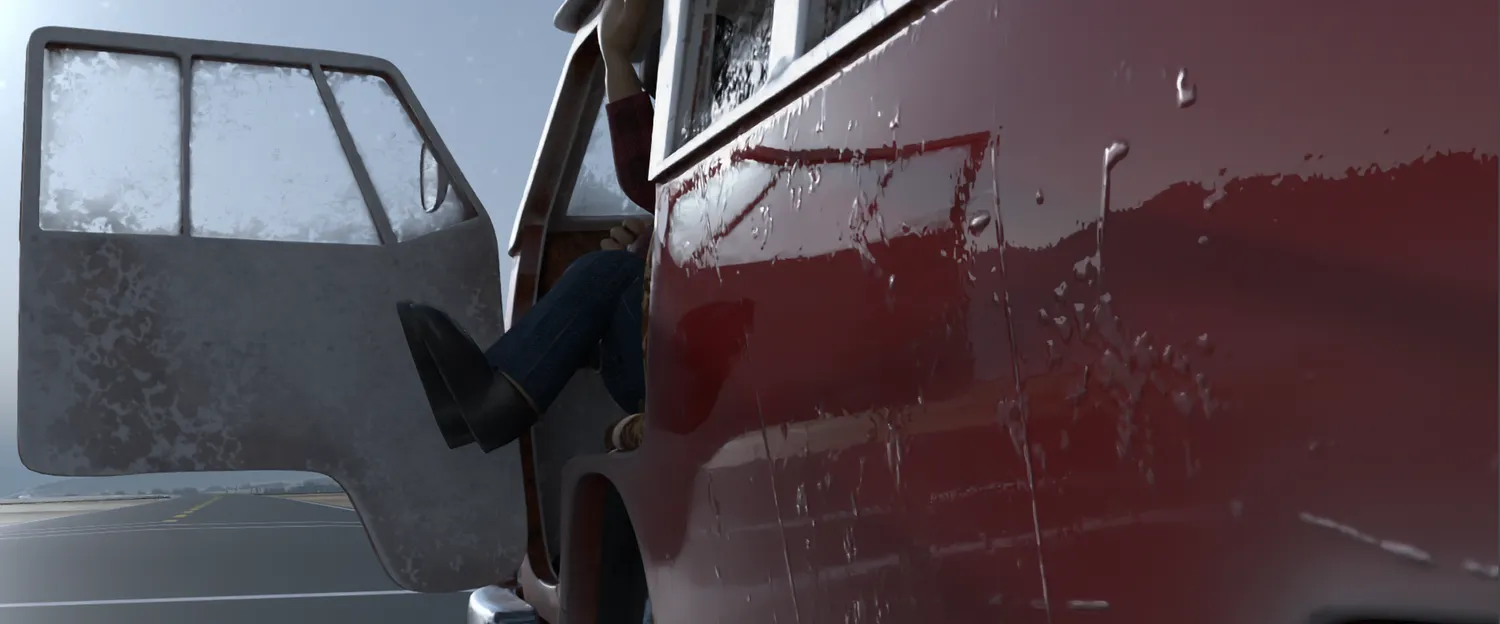
Created the VW Bus’s model, UV, rig, materials, and textures
With reference images, the classic VW bus was modelled with subdivision 3D modelling techniques then modified to fit the cartoon proportions. The VW bus uses a forward kinematics rig consists of 5 hinged doors and 2 wheel axels. The style is an older rusted/beat up VW Bus.
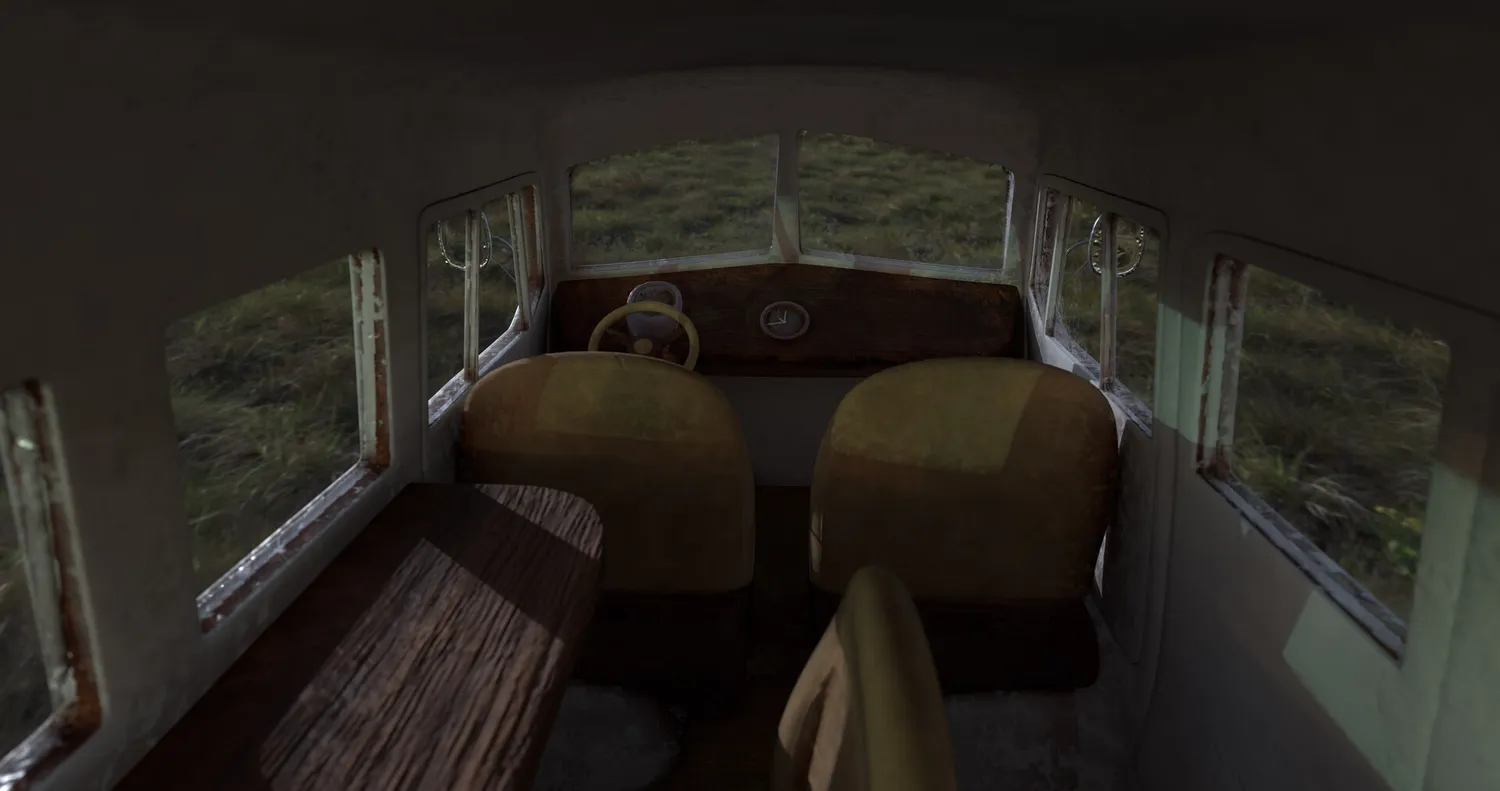
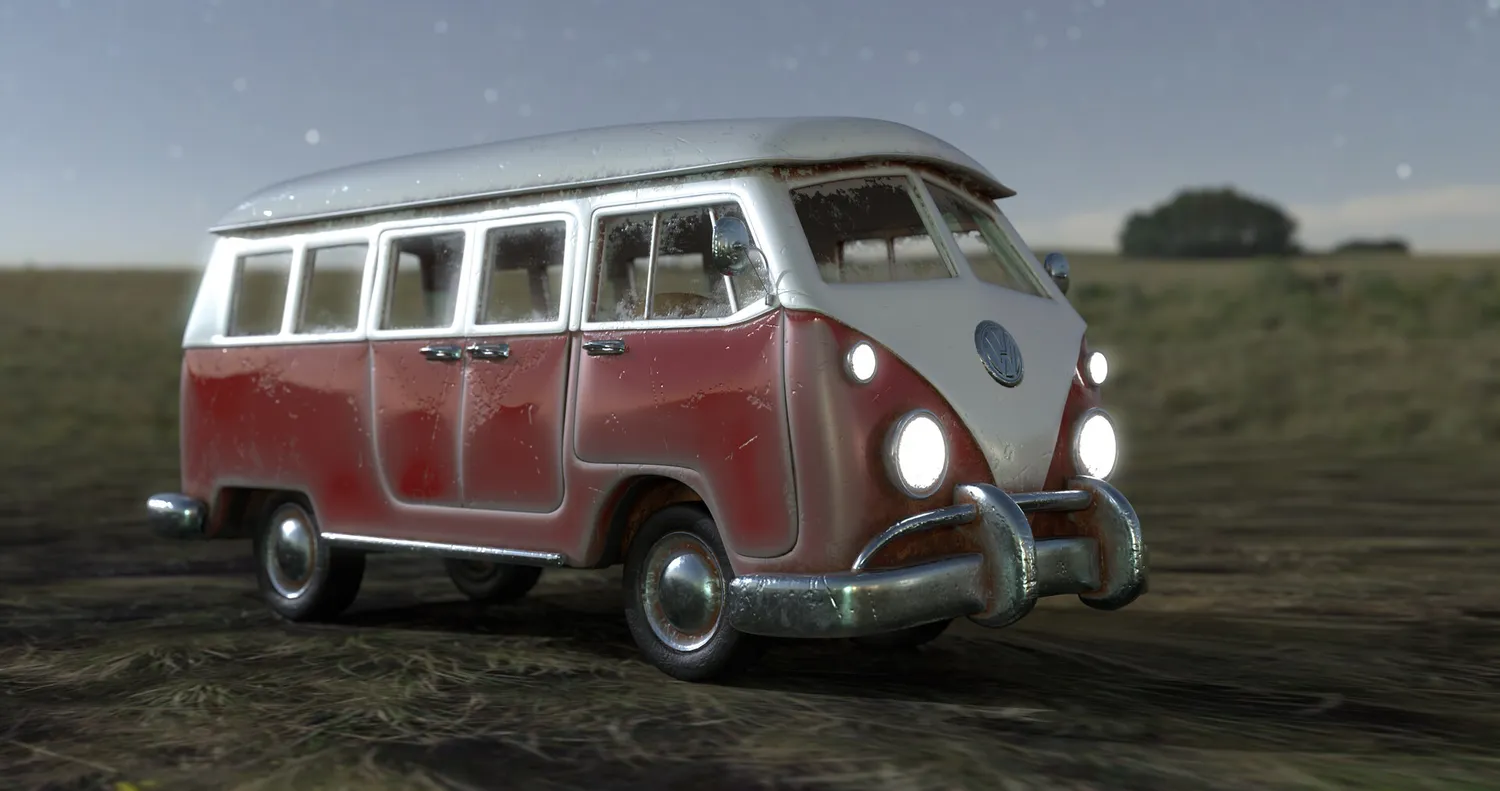
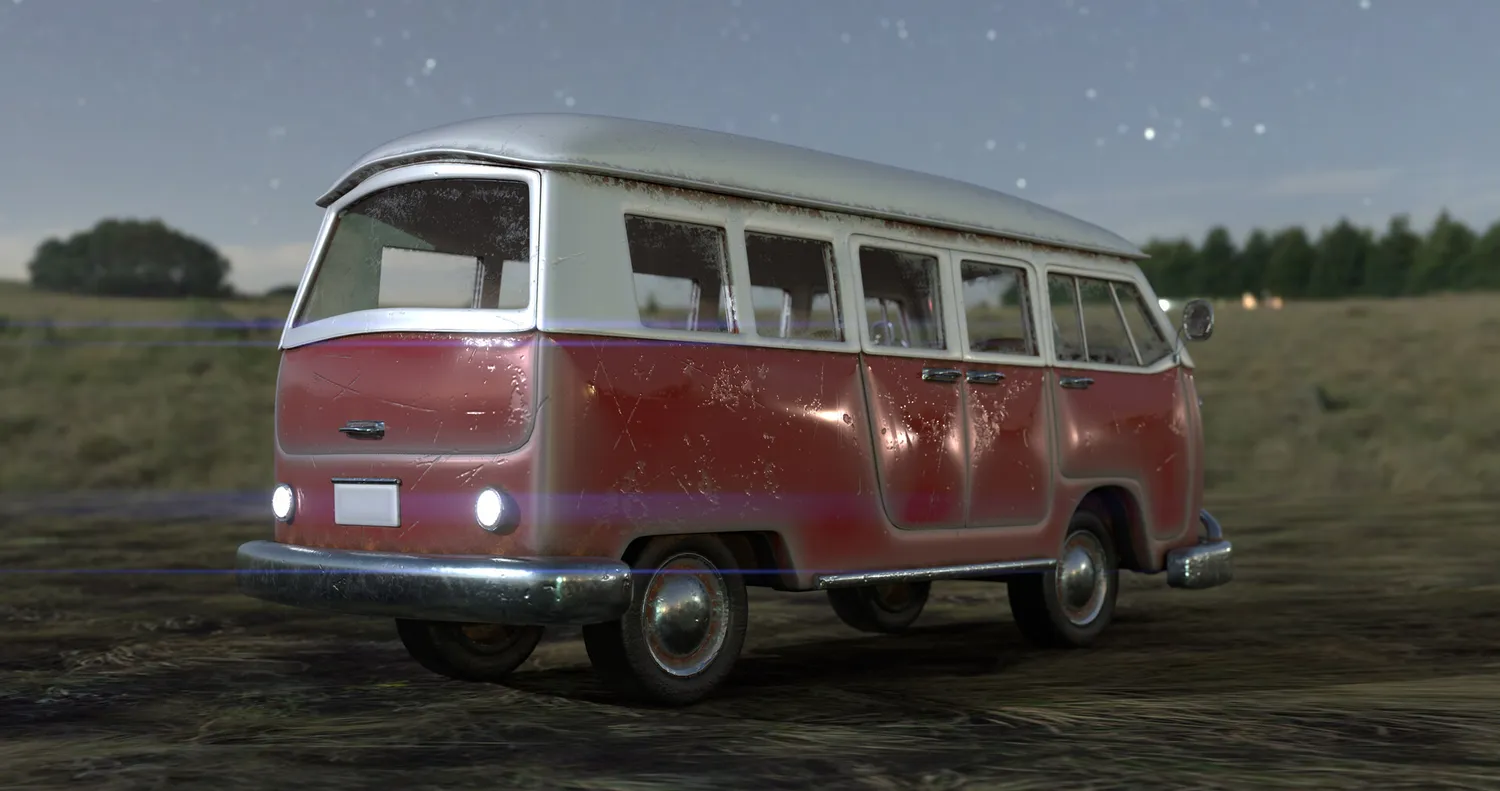
UV maps are then created with distinct shells for Substance Painter where modified materials are painted on based on the bounds of UV shells.
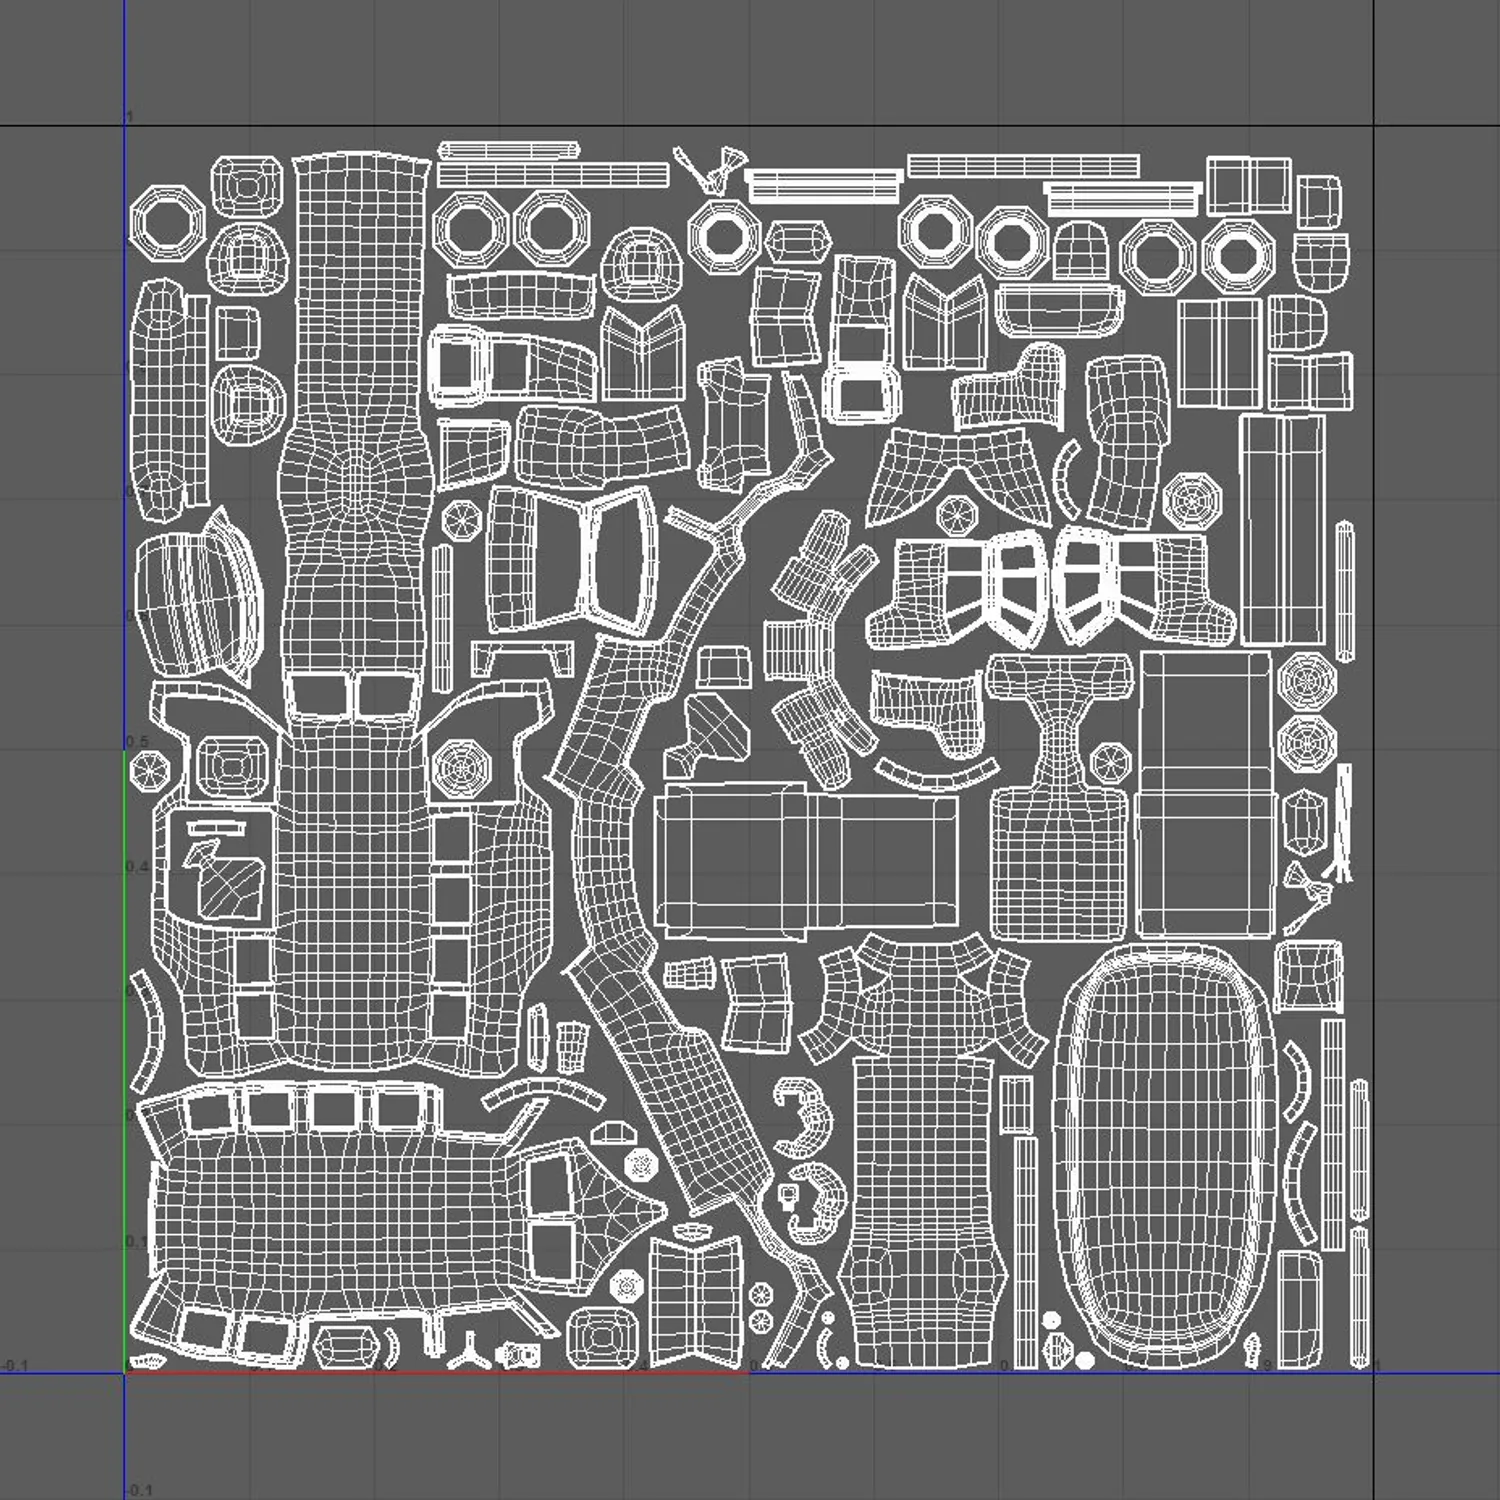
Created environment’s model, UV, materials, and textures
Terrain
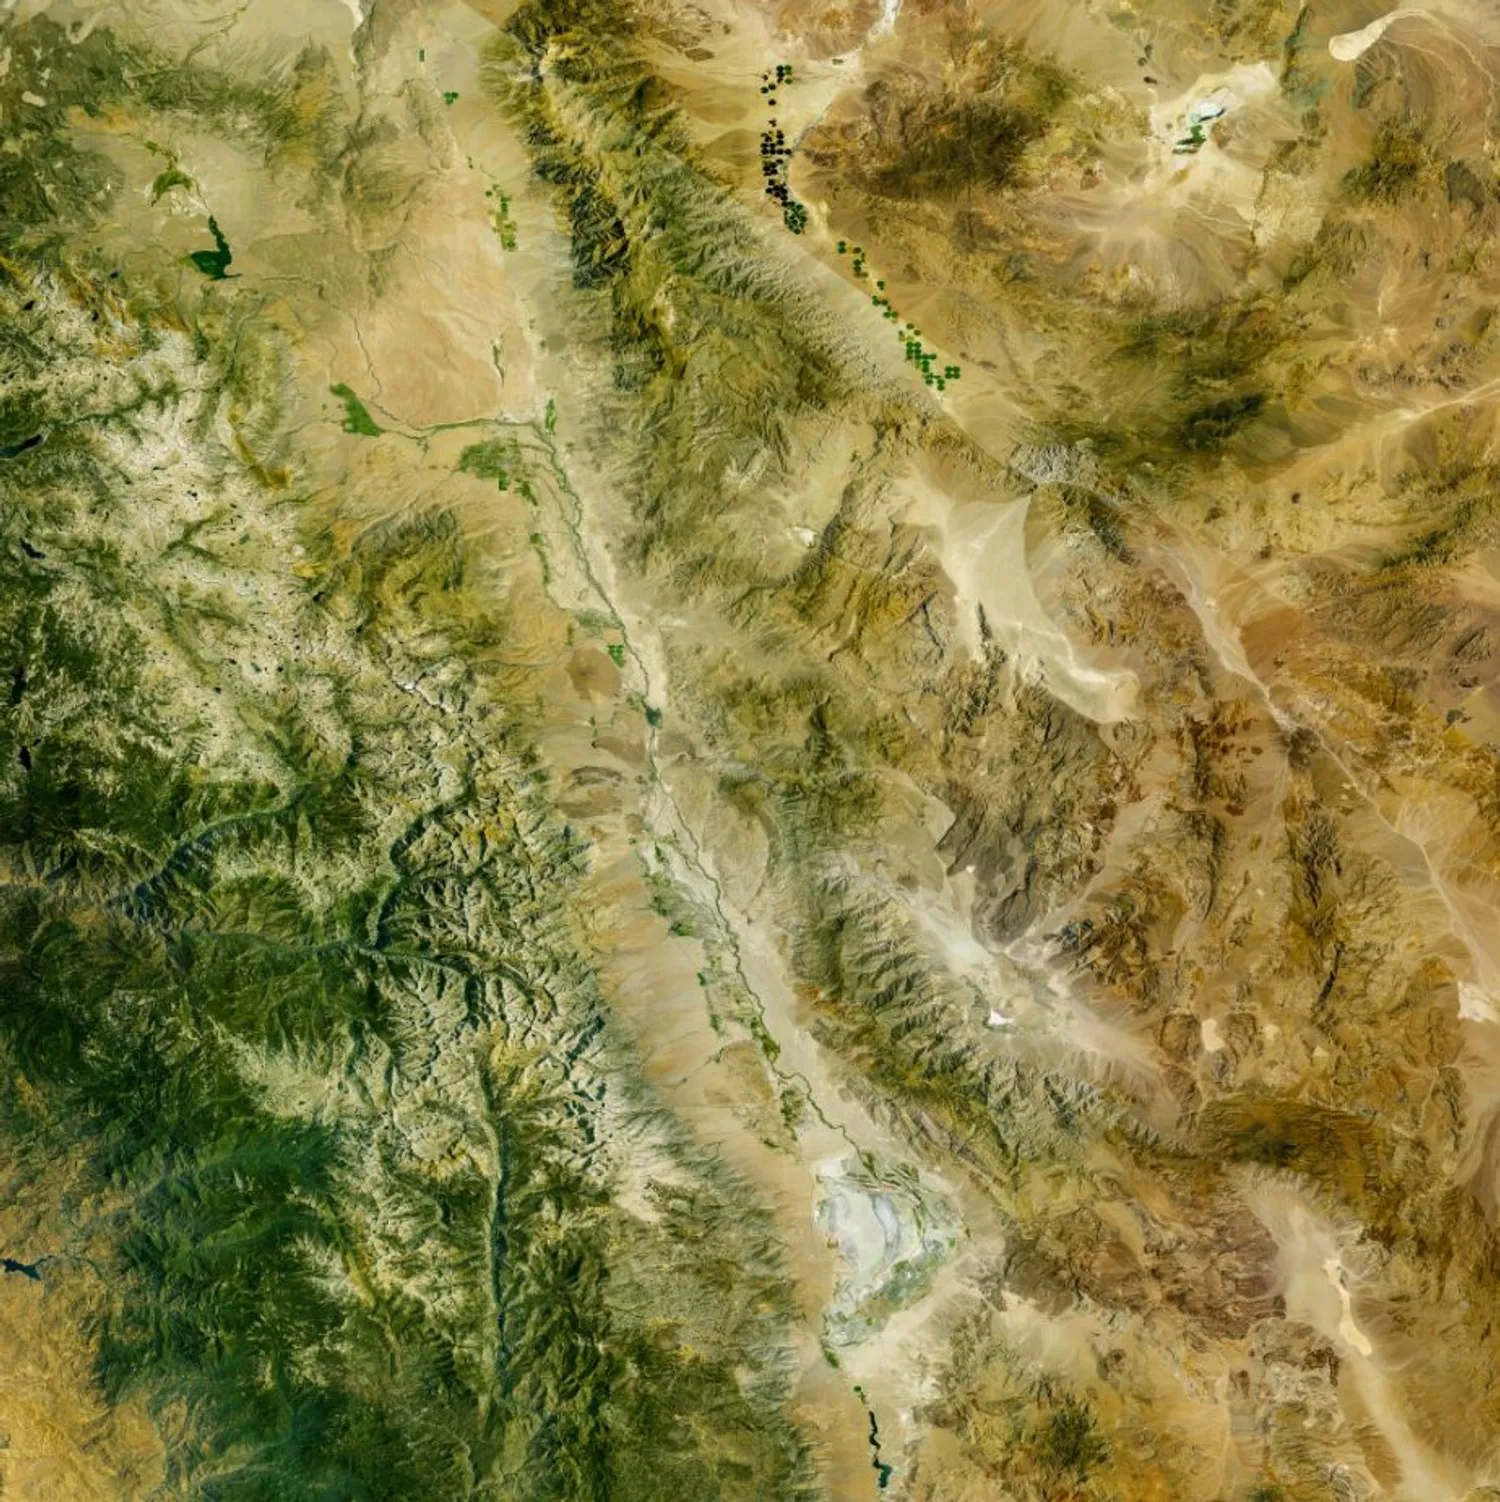
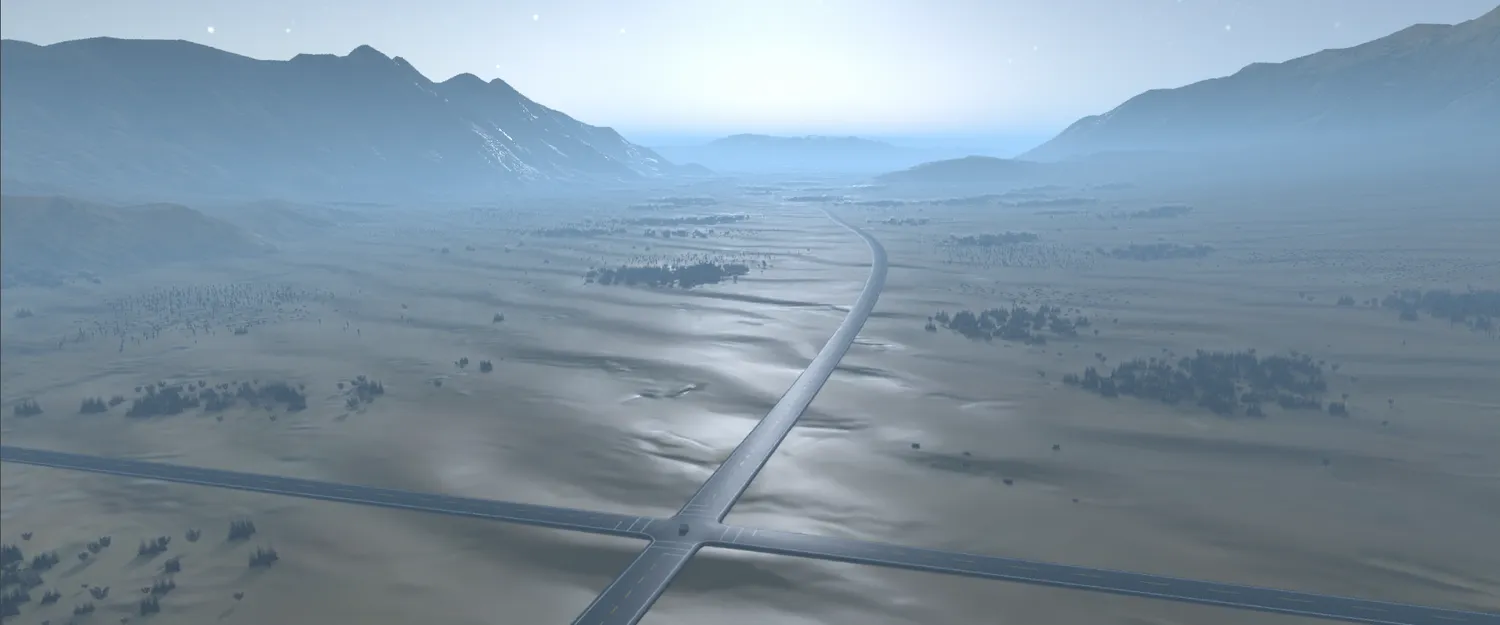
The terrain is created with the help of a NASA EarthData dataset named “ASTER Global Digital Elevation Model V003” of Death Valley California. Stitched together with 9 tiles and used as a displacement map, it will show up as the result below. The terrain is then turned into a mesh for easier asset creation and reference since displacement only shows up upon render. With texture from Maptiler gathered and stitched together more than 500 tiles by a custom script, the terrain can be mapped with real RGB colour with a max resolution of 32k * 32k.
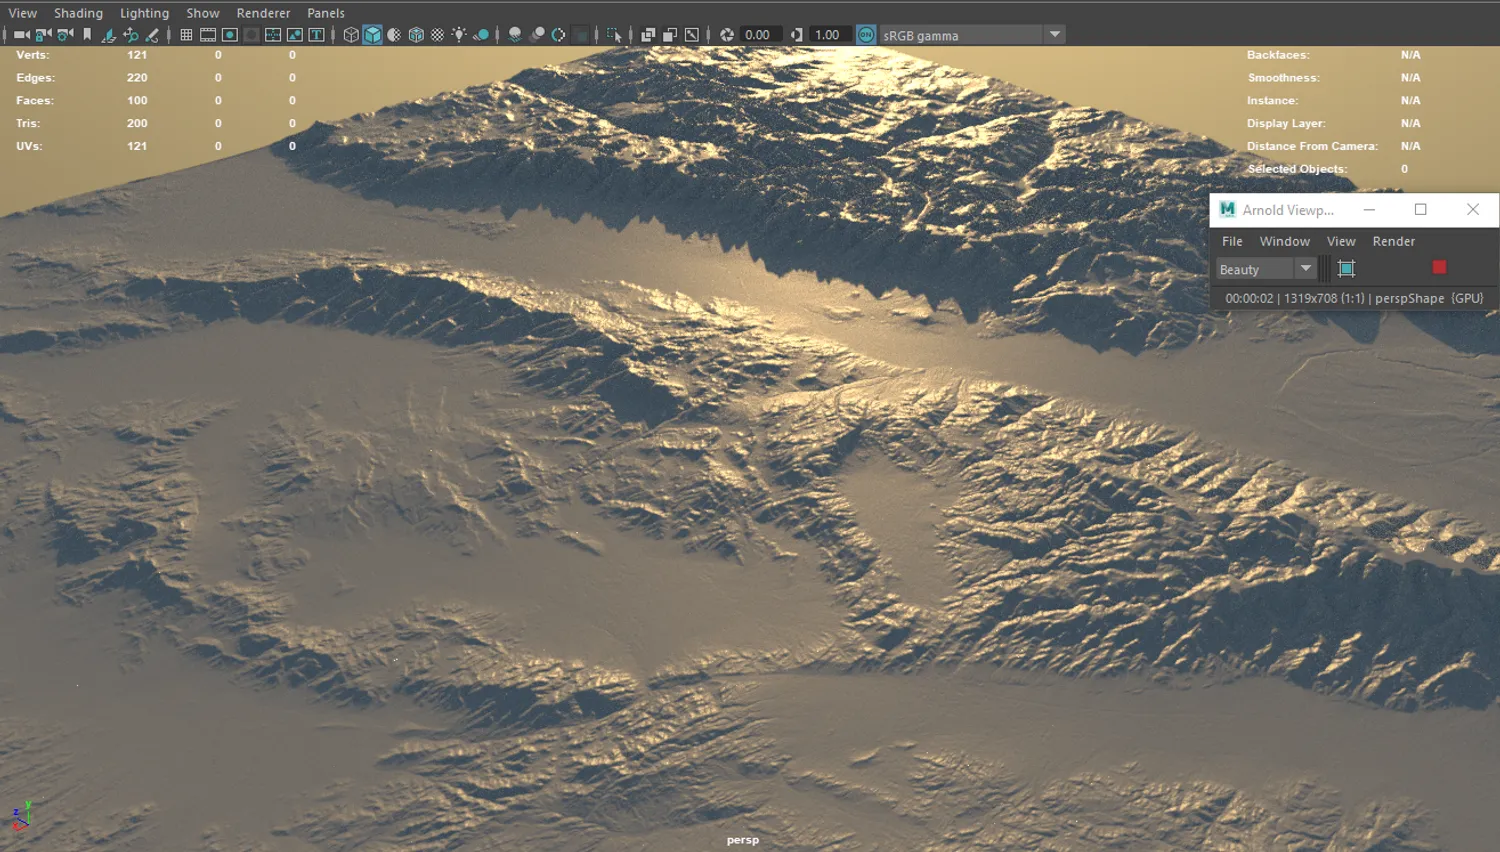
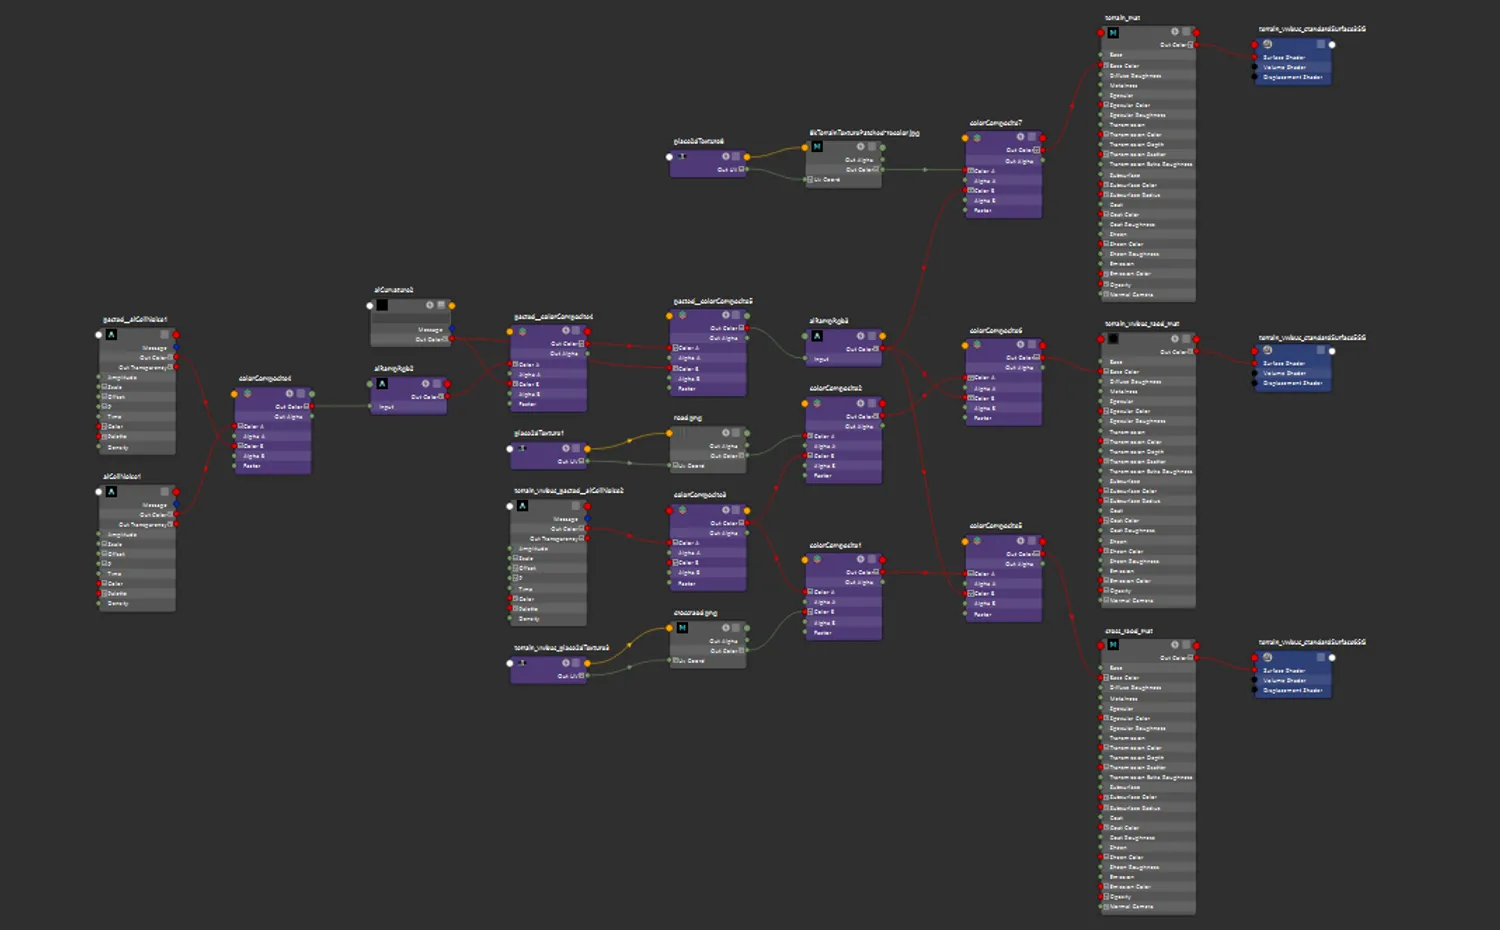
A custom precaudal shader network is added on top of the texture for infinite resolution and extra details. This helps with the eventual use of 8k*8k textures due to video memory constraints.
Terrain vegetation
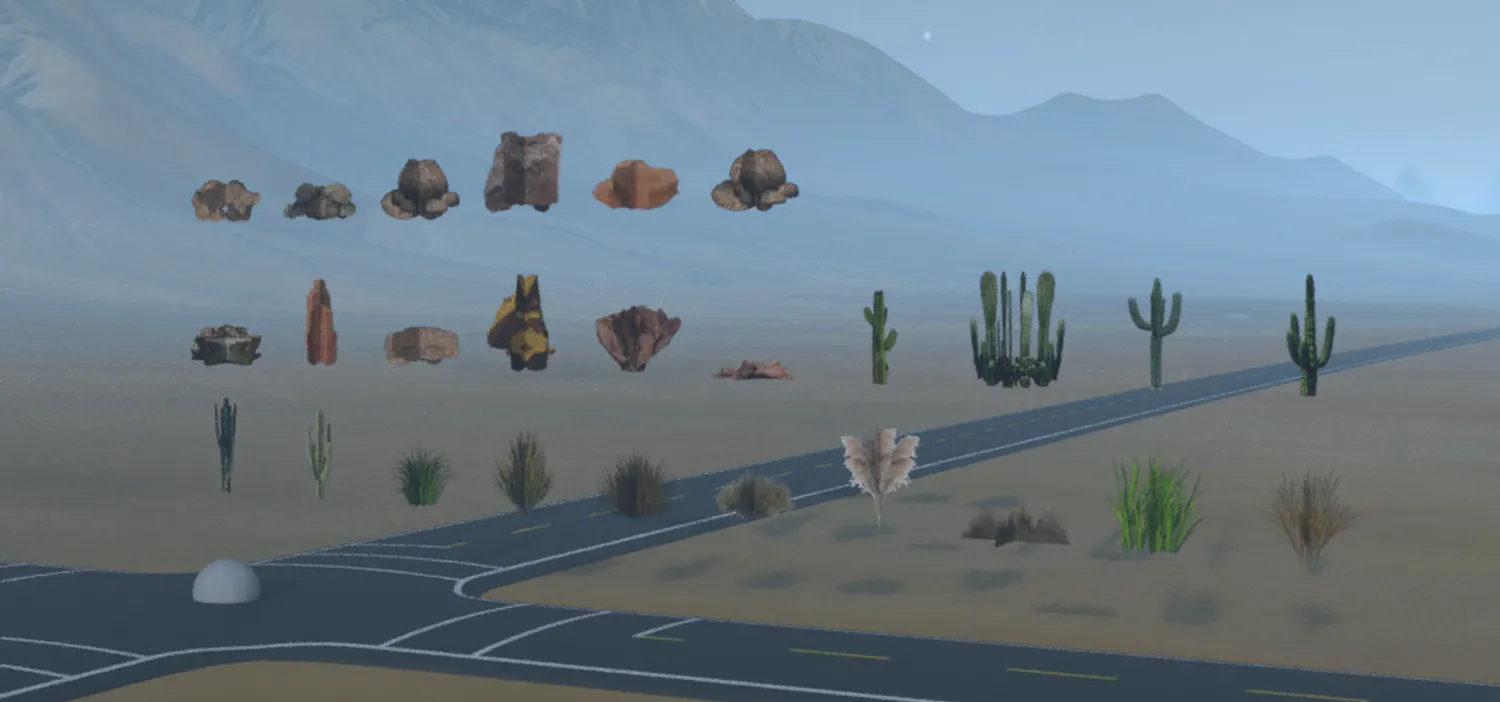
MASH networks are used to plot random clusters of vegetation and rocks to the desert to give depth with tracking shots.
Roads
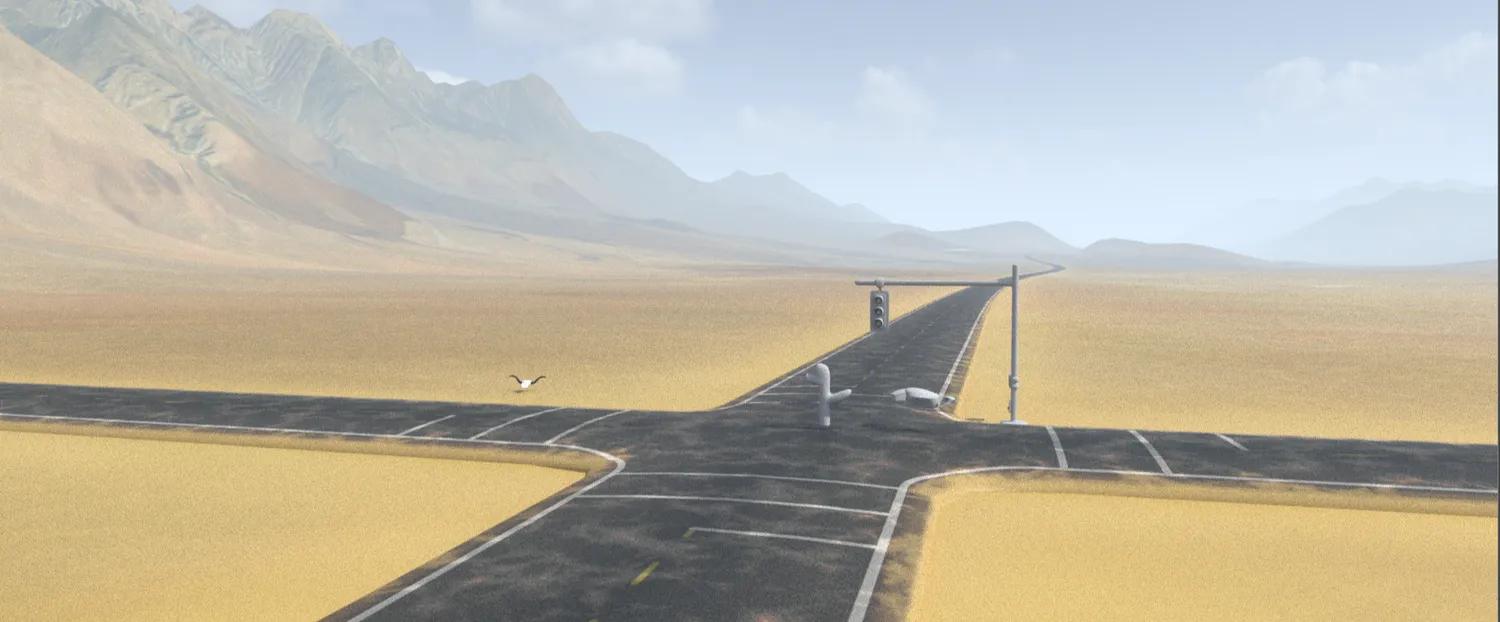
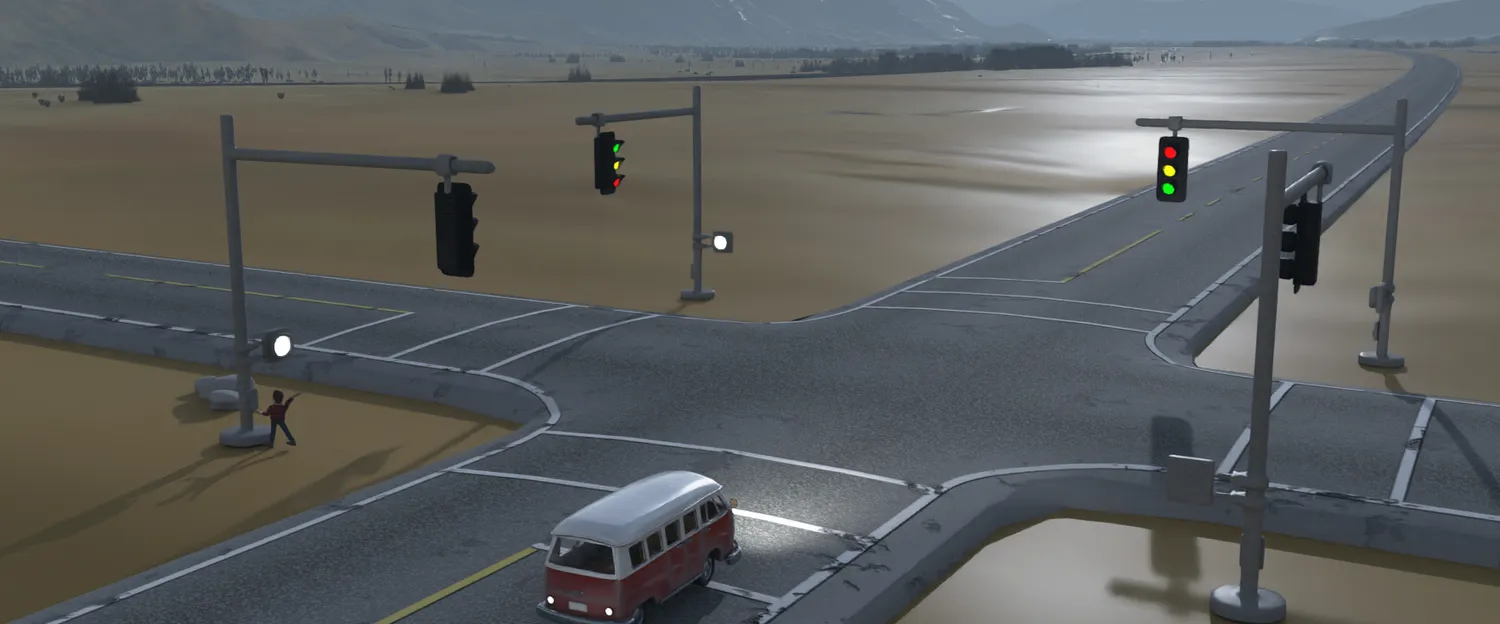
The roads use a custom shading network to create asphalt-like bumps, paint bump maps, racks, mud, and sand overlay. Road textures utilize stacked UV shells as they are extremely long and forever repeating except for the crosswalk section.
Created main character’s model, UV, rig, materials, and textures
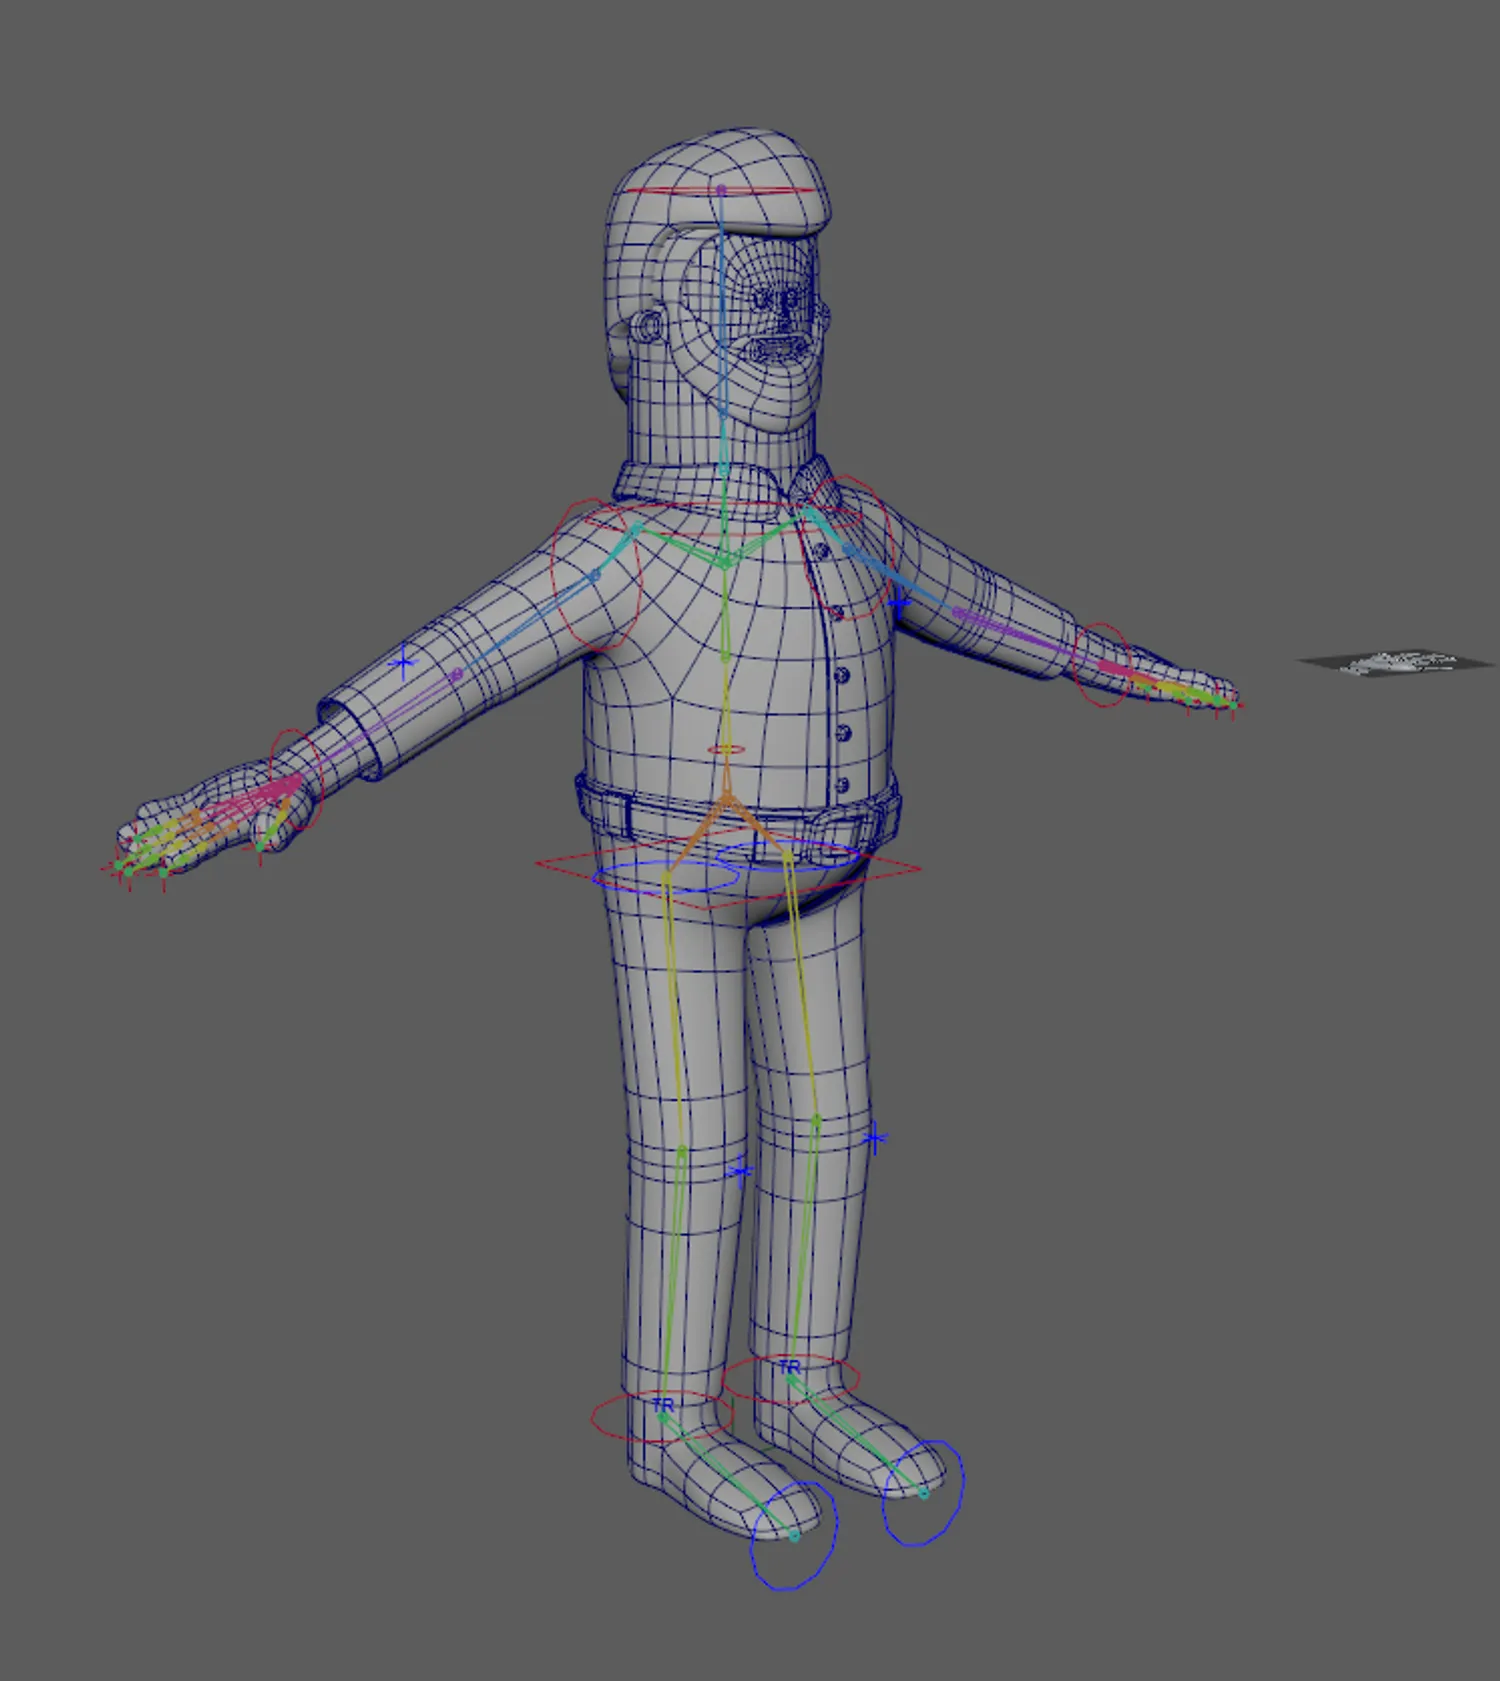
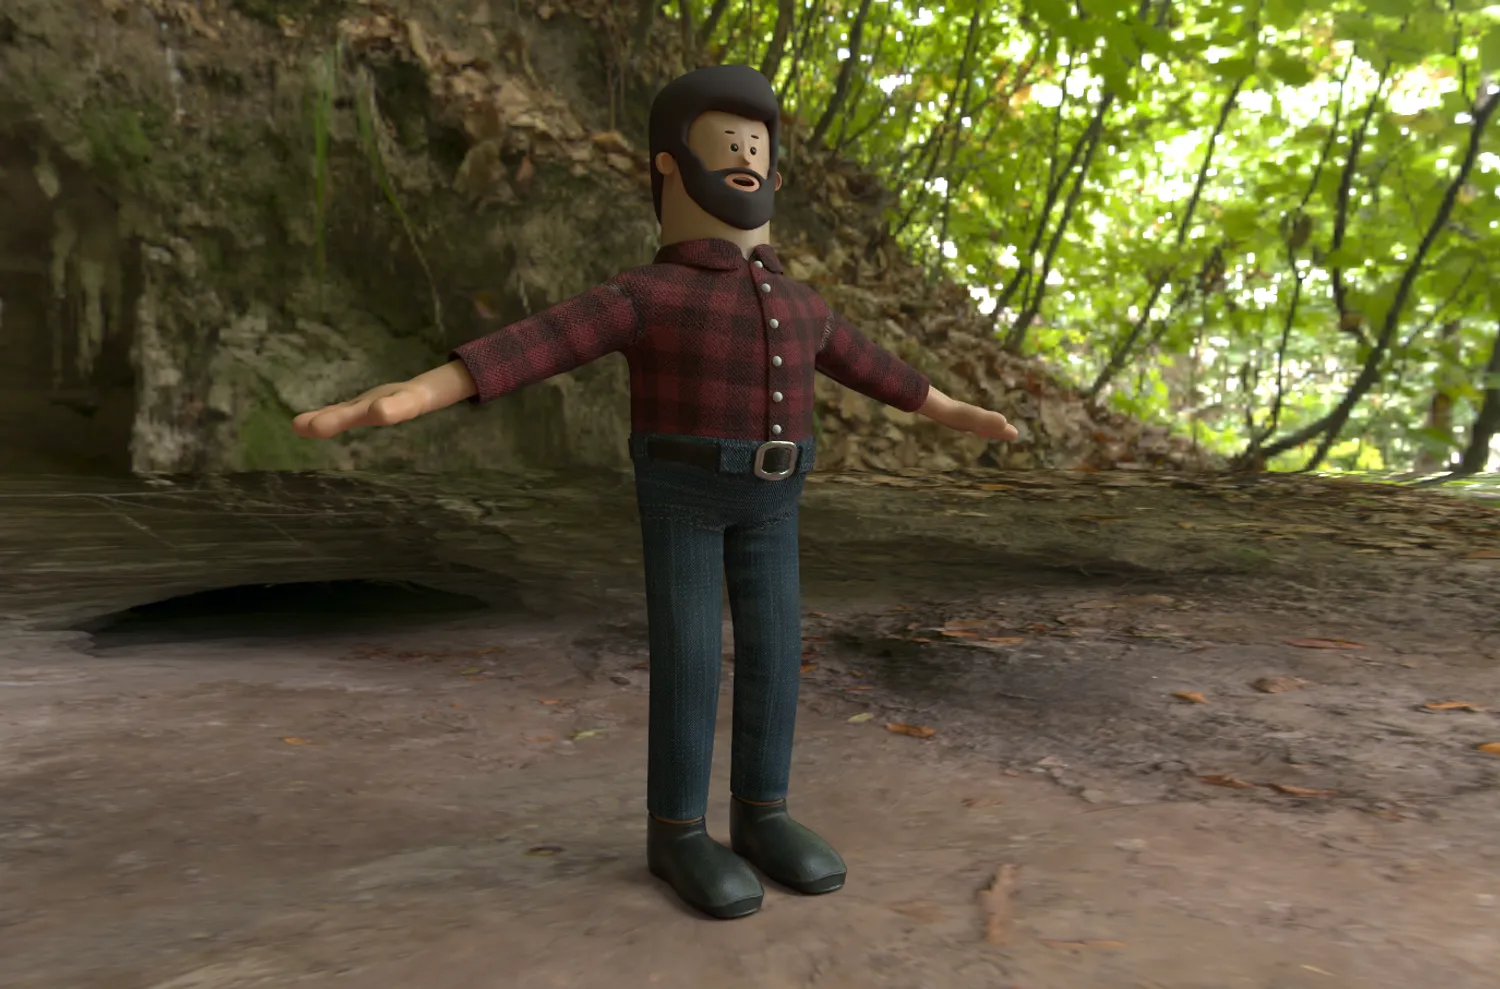
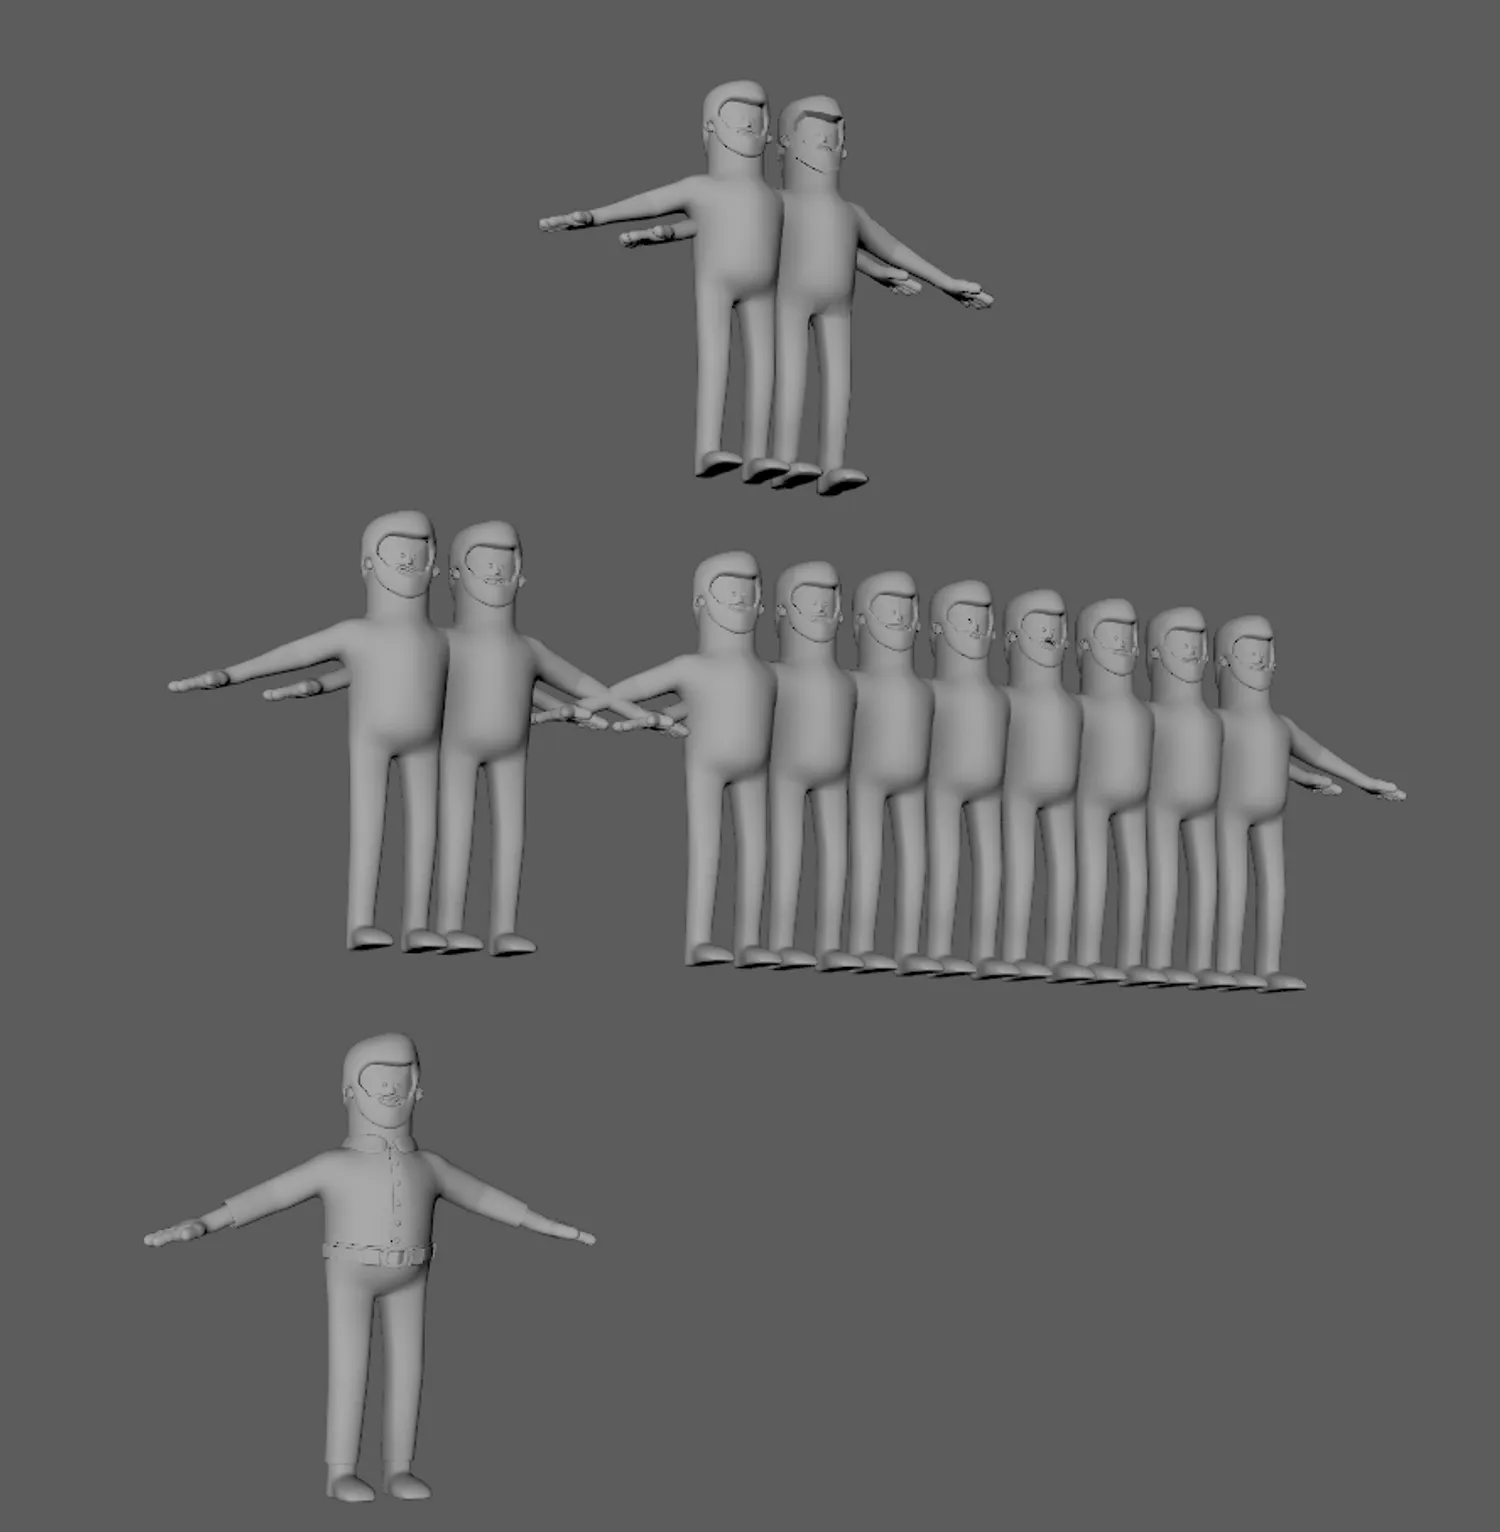
For the main character, I created the model’s body with the proper topology for movement and rigging. Then I extracted faces out for the clothing, pants, and hair. For bone-based rigging, I used the Human IK system in Maya to quickly create a functional humanoid rig. Skin weights are carefully considered as this is a relatively large model to skin. After painting only the body, weights are transferred to hair and clothing with skin weight copy function.
Facial rig
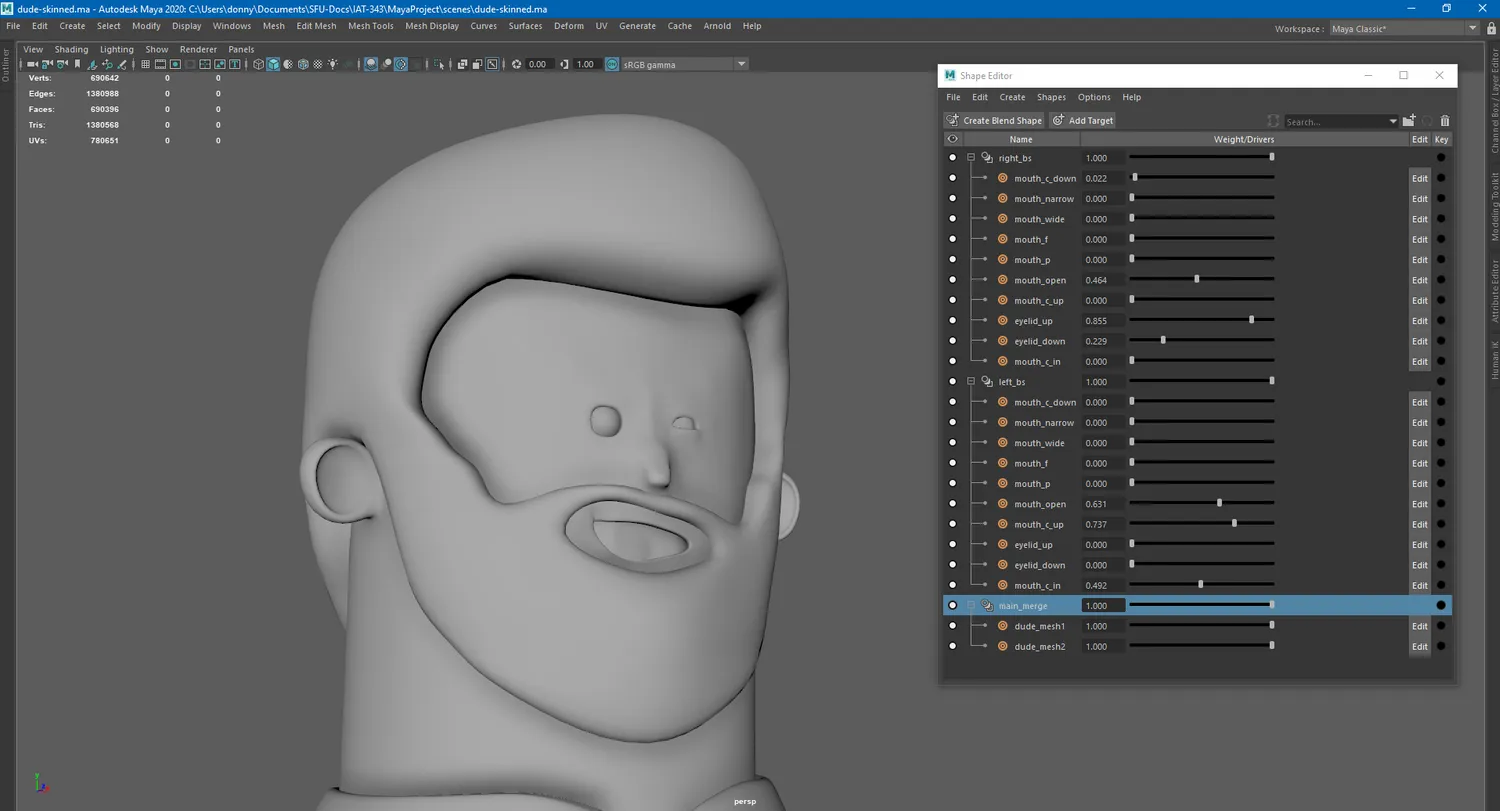
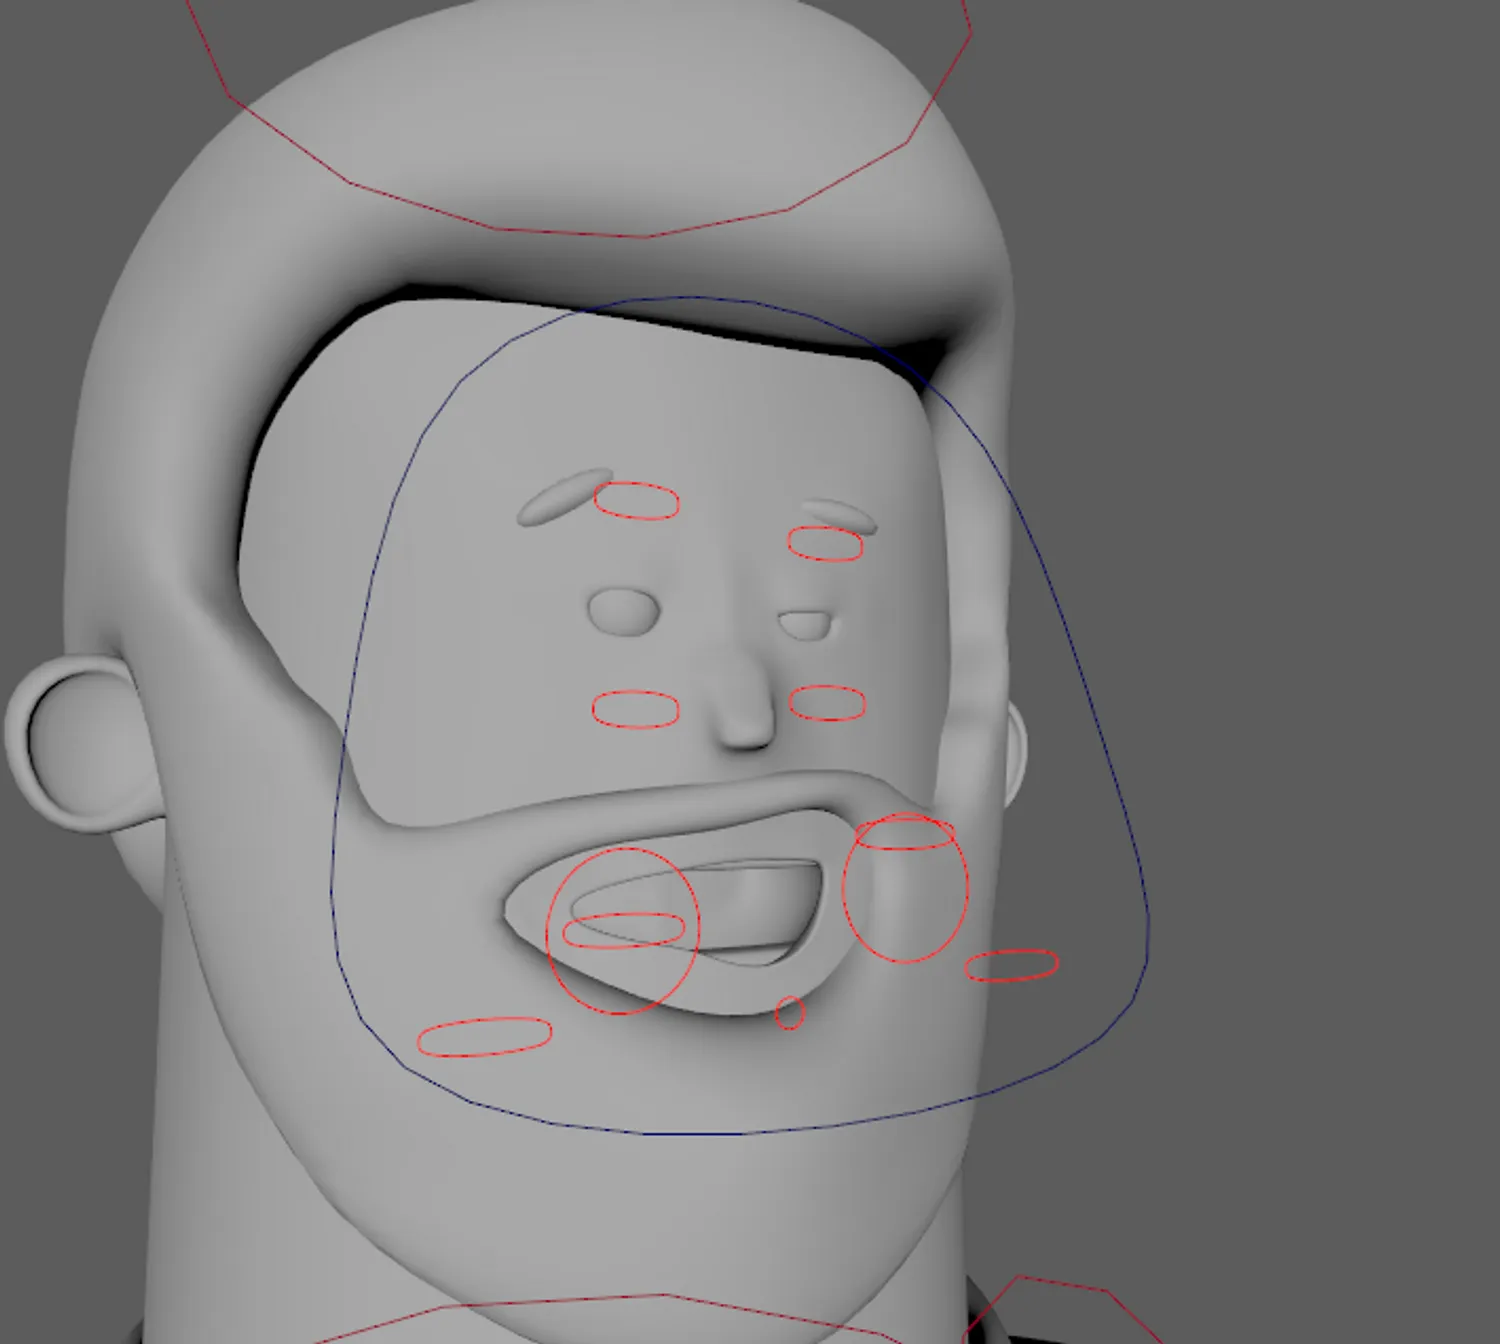
The face rig utilizes a set of mouth and eye lid movements which are divided by a utility blend shape where it cuts each blend shape by half. This technique doubles the amount of blend shapes and creates more possibilities for lip syncing and facial expressions.
Managed rendering + final image production
There were several decisions I made considering render times to keep each frame at most less than 90 seconds with an RTX 2070 MaxQ or a GTX 1080TI. I chose the resolution of 1920*800 because this will save more than 25% of the pixels from being rendered. This resolution is also a standard in cinema with an aspect ratio of 2.40:1. The usage of 24fps + motion blur is also to save frames required to be rendered while also giving the animation a film look. Rendered on Arnold’s then “Stable” Arnold GPU, several bugs appeared including the inability to use Optix Denoiser on render sequence images, Arnold curvature node mess-ups, and frequent crashes/lockups. NOICE denoiser also does not have the necessary variance filter support to complete denoising.
Denoising
Since our fast render times relied on getting a grainy image then denoising it, not having both of Arnold’s built-in denoising option, Optix and NOICE, in GPU mode is a pain. To solve this, I researched and used Intel Open Image Denoise. The problem is that Intel’s open image denoise does not support EXR images, only PFM. So, by using the HDR version of ImageMagick and a command-line script, denoising can happen despite Arnold GPU. AOVs were rendered but they did not help that much as they are also quite noisy.
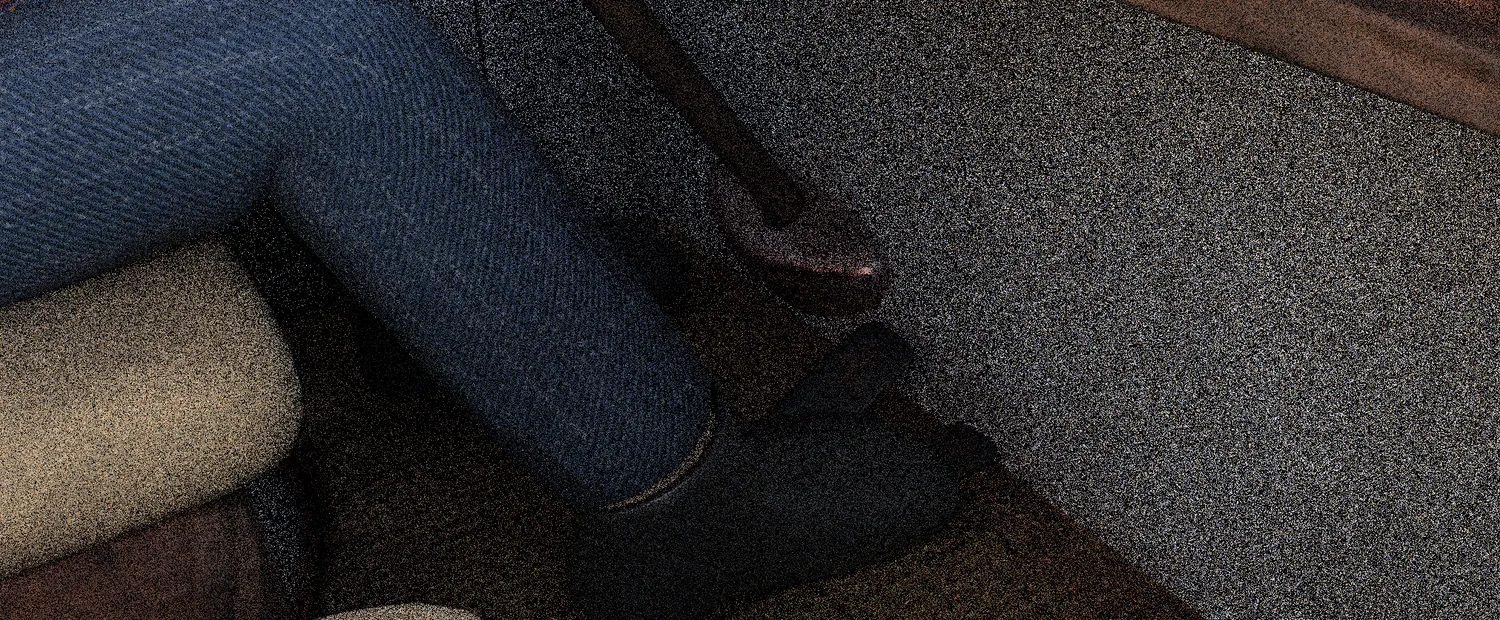
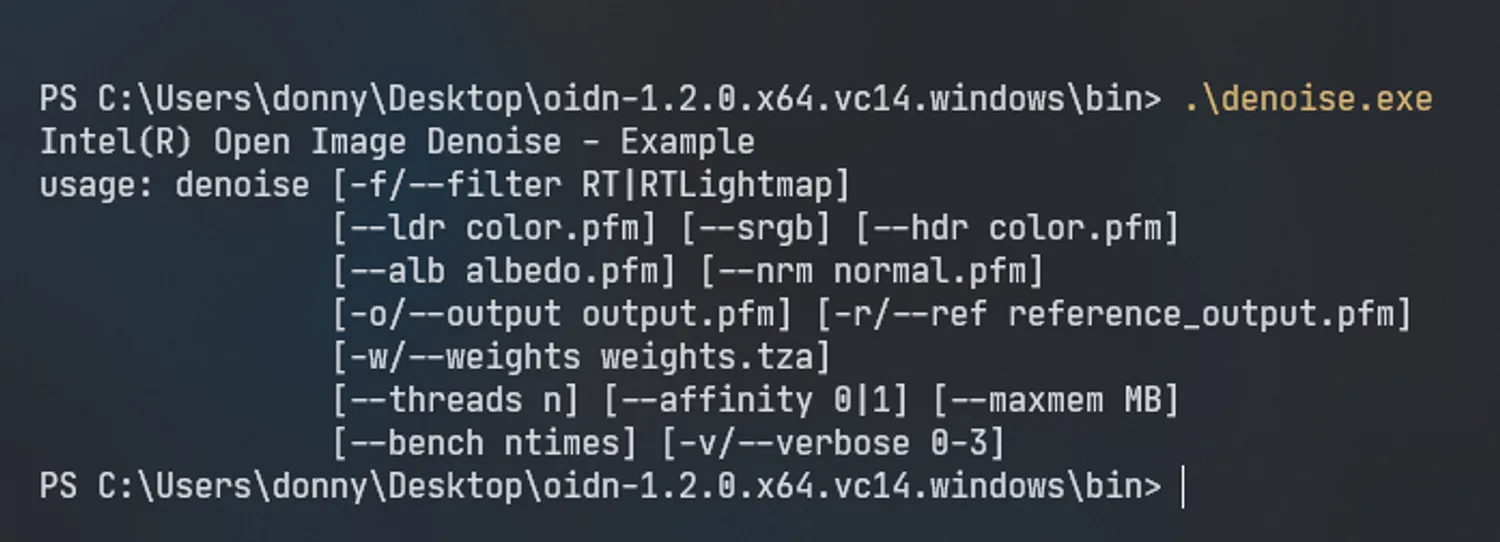
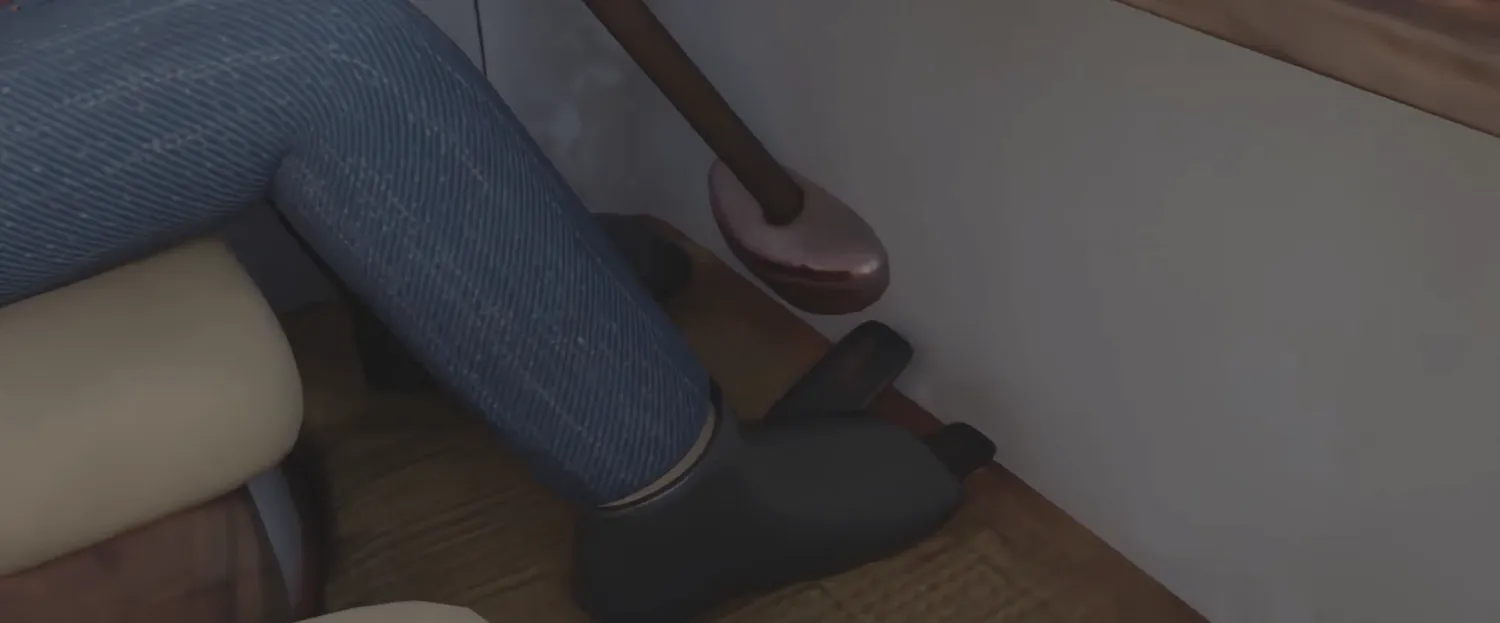
Image pipeline
From Maya → EXR → PFM → EXR conversion, we still need a convenient video format to contain all the colour and dynamic range with little to no loss. We used DaVinci Resolve to convert EXR sequences to a Cineform YUV 10bit in the ARRI V3 LogC colour space, creating an easy to manage high dynamic range colour gradable video format.
Created Animations
- Intro title sequence
- Stop light change sequence
- Police strobe light sequence
Conclusion
At the end of the project, this film received one of the highest grade in the class with it being shown as a demonstration of what could be done in later semesters. There are several things could have done differently. First, the texture for the terrain is really not very critical to be high resolution as it can not fit on the gpu anyway. The terrain could be overly detailed and be reduced in complexity further away from the camera. Also, somehow with color grading, a night color scheme should be more reinforced.